How to Change a Drive Belt


Drive belts are simply belts which help to drive the accessories such as water pump, air conditioner compressor and others which are attached to the engine of an automobile. Drive belts used in automobiles are of two types: V-type (used in old automobiles) and Serpentine (used in new automobiles). Like all other parts, a drive belt also requires regular maintenance. If you are hearing squeaks from under the hood of your car, then chances are that the culprit is the drive belt and it’s time to change it.
Changing the drive belt is something you can do at home without the need for a professional mechanic. If you have some knowledge about cars and would like to try this on your own, in this OneHowTo article we're going to explain how to change a drive belt.
Steps to follow:
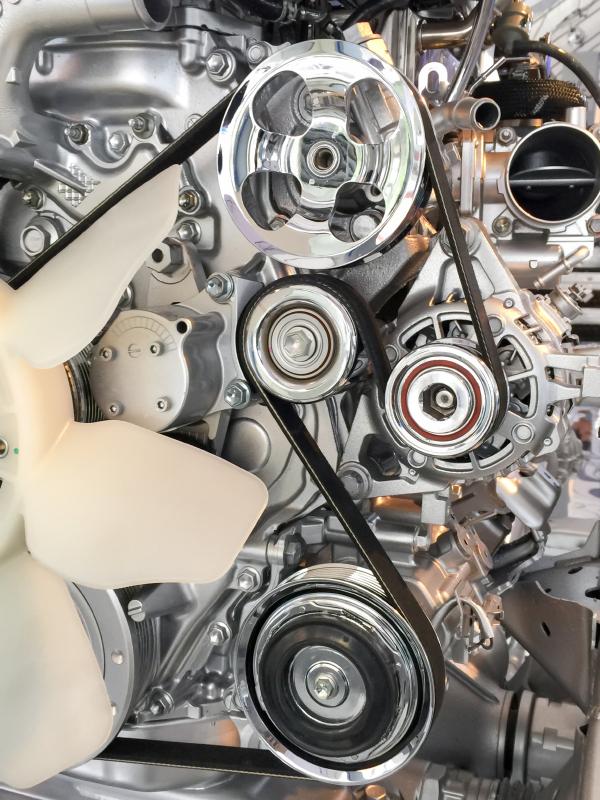
The first thing you need to do is locate the drive belt. The V-type belts are looped around two pulleys. Also, there are more than two belts which overlap each other forming a V shape. The serpentine belt is easy to locate as it is a single belt which weaves through several pulleys. Make sure to have a flashlight handy to see the belts clearly if visibility is low.
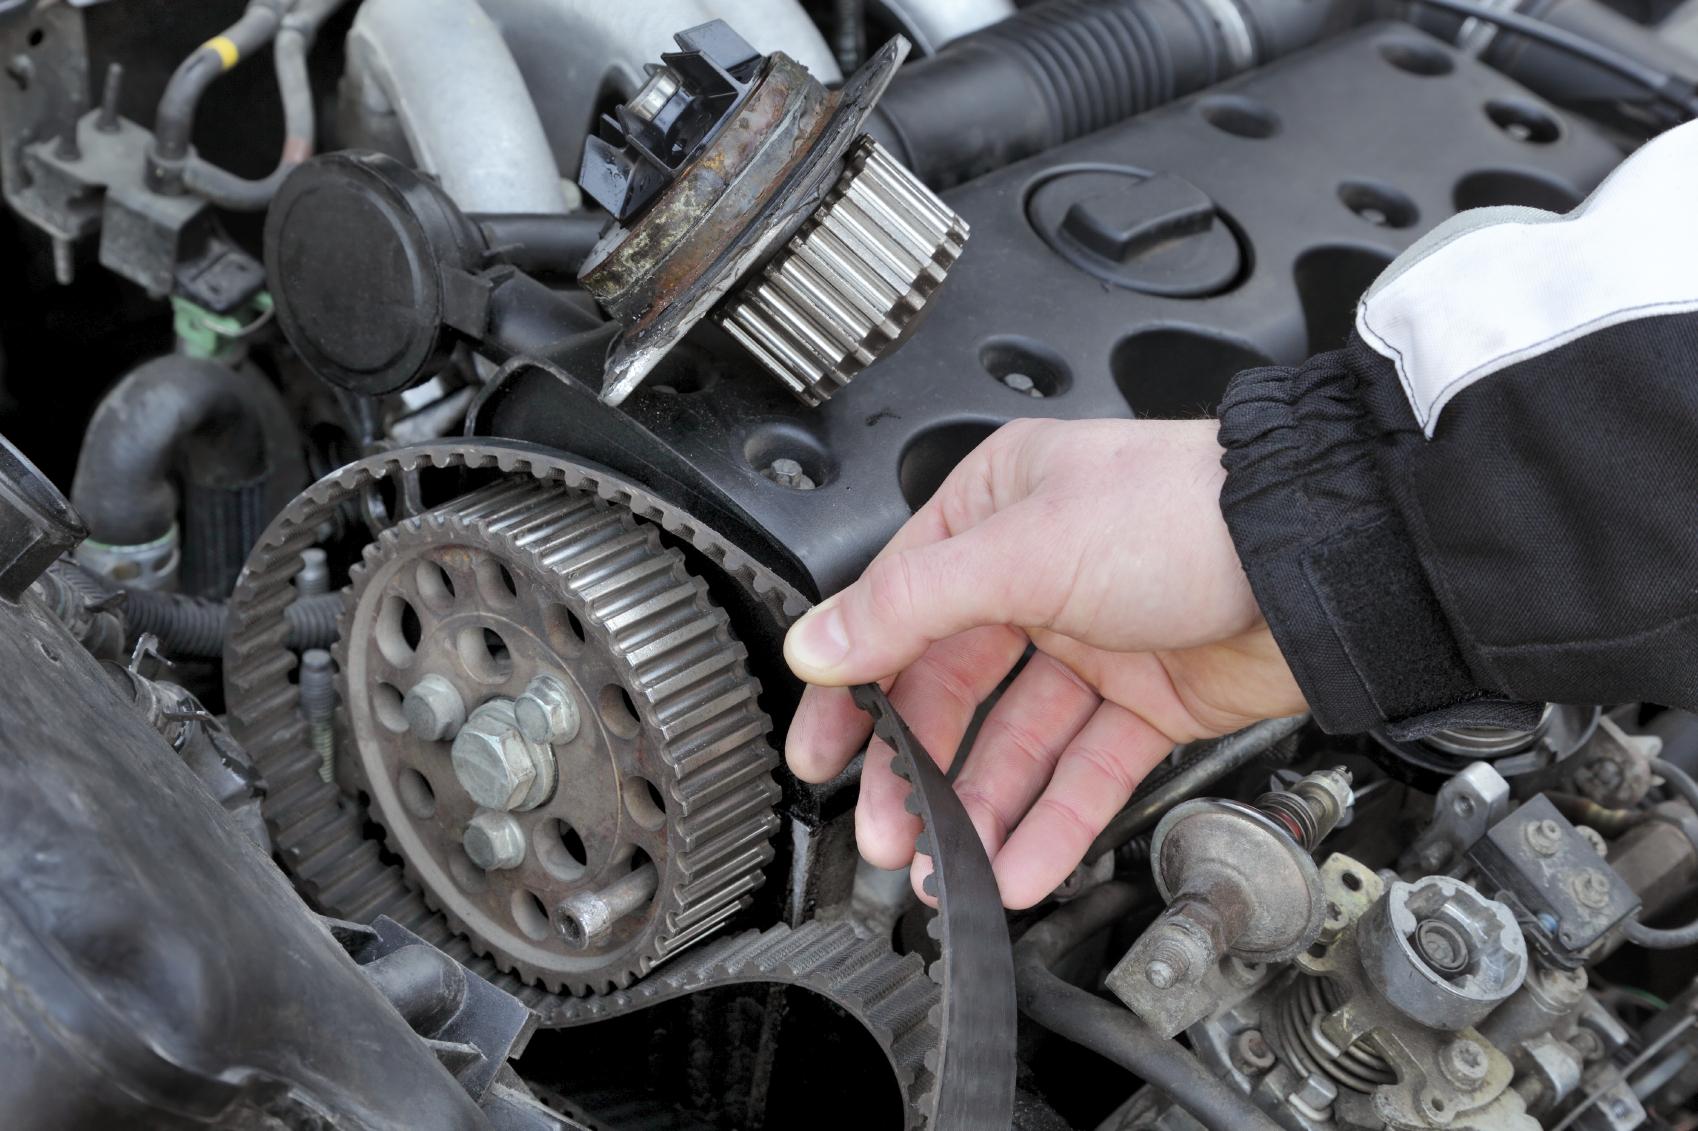
The second step is to check the belt. If the belt has cracks, is frayed, or shows signs of wear and tear, or if it is missing some chunks, then you must replace the belt. Also, if the belt has coolant or oil on it, then it needs to be replaced. Using this type of drive belt may cause problems as it won’t run all the accessories of the engine properly. It should be noted that a damaged belt can lead to more serious engine issues if not addressed promptly.
Before removing the drive belt, find out the routing diagram. Usually, the routing diagram is present underneath the hood of your automobile or else in the manual. Also, make sure that you remember whether the flat side of the belt or the grooved side of the belt makes contact with each pulley. Setting the wrong side of the belt on the pulley will create problems in the future. In this regard, taking a picture of the old belt setup can be quite helpful.
Now you have to release the tension on the drive belt. For serpentine belts, compress the spring load tensioner and the tension will be released. For V–shape belts, you need to remove it by adjusting one of the pulleys so that tension can be released. It's important to ensure the engine is off and cool before attempting this to prevent any injuries.
After tension is released, the belt will easily slide off the other pulleys and can be removed. Be careful not to damage any other components during removal. Keep the old belt aside for comparison with the new one.

Now check all the pulleys to determine whether any of them are malfunctioning or need replacement. Look for signs of wear such as wobbling or unusual noises. It's crucial to address any pulley issues before installing the new belt to ensure proper functionality.
Buy the new drive belt and compare it with the old one. Its length and width should be the same as the old one. Additionally, ensure the new belt is made from high-quality materials to increase its longevity.
Then, using the routing diagram, adjust the new belt over the pulleys exactly as it was earlier. Then tighten the belt properly (for V–type belt it can be done manually). Make sure the belt is aligned correctly to prevent any future slippage or wear.
If you have a helper or friend, then ask the person to start the car while you watch the belt. Make sure the belt is running smoothly without any slips or squeals. If there is any problem that you can’t diagnose or solve, then it’s better to contact a professional. It’s always a good idea to recheck the tension after a short drive to ensure everything is functioning as expected.
If you want to read similar articles to How to Change a Drive Belt, we recommend you visit our Car Maintenance and Repair category.


